I have this thing with trolleys
I especially like to snoop in yours.
And if it wasn’t for social norms, I’d absolutely be asking you about its contents and your plans.
Anyway.
Now that I’ve gained a little confidence in the workshop, I’m starting to recognise what is and isn’t working for me. I thought having the one workbench would be sufficient, but there’s nowhere to rest your tools as you work. Bopping down to the floor soon becomes tiresome.
I knew that a second, smaller bench which I could maneuver about the place would work. I could feel myself getting carried away with ideas, but quickly sobered myself with the knowledge that the space I work in is a single garage, and the car actually needs to sleep in it every night.
I also needed storage, so I had to remain pragmatic.
What about a trolley with some kind of lid/bench? Something that could be easily re/organised, pushed around (and steadied), and a removable top with little compartments for the resting of the tools?
Inspired by Hay crates, I set upon searching for ones I could both afford and justify using in a workshop. I found these used crates online for five clams each, so I bought six (from 3000 available).
I had a bunch of timber bed slats at the ready (from the side of the road, of course) which I could fashion into a frame. An off-cut of plywood, a length of dowel and a set of castors, all of which I already had, meant I was ready to go.
The base came together quickly.
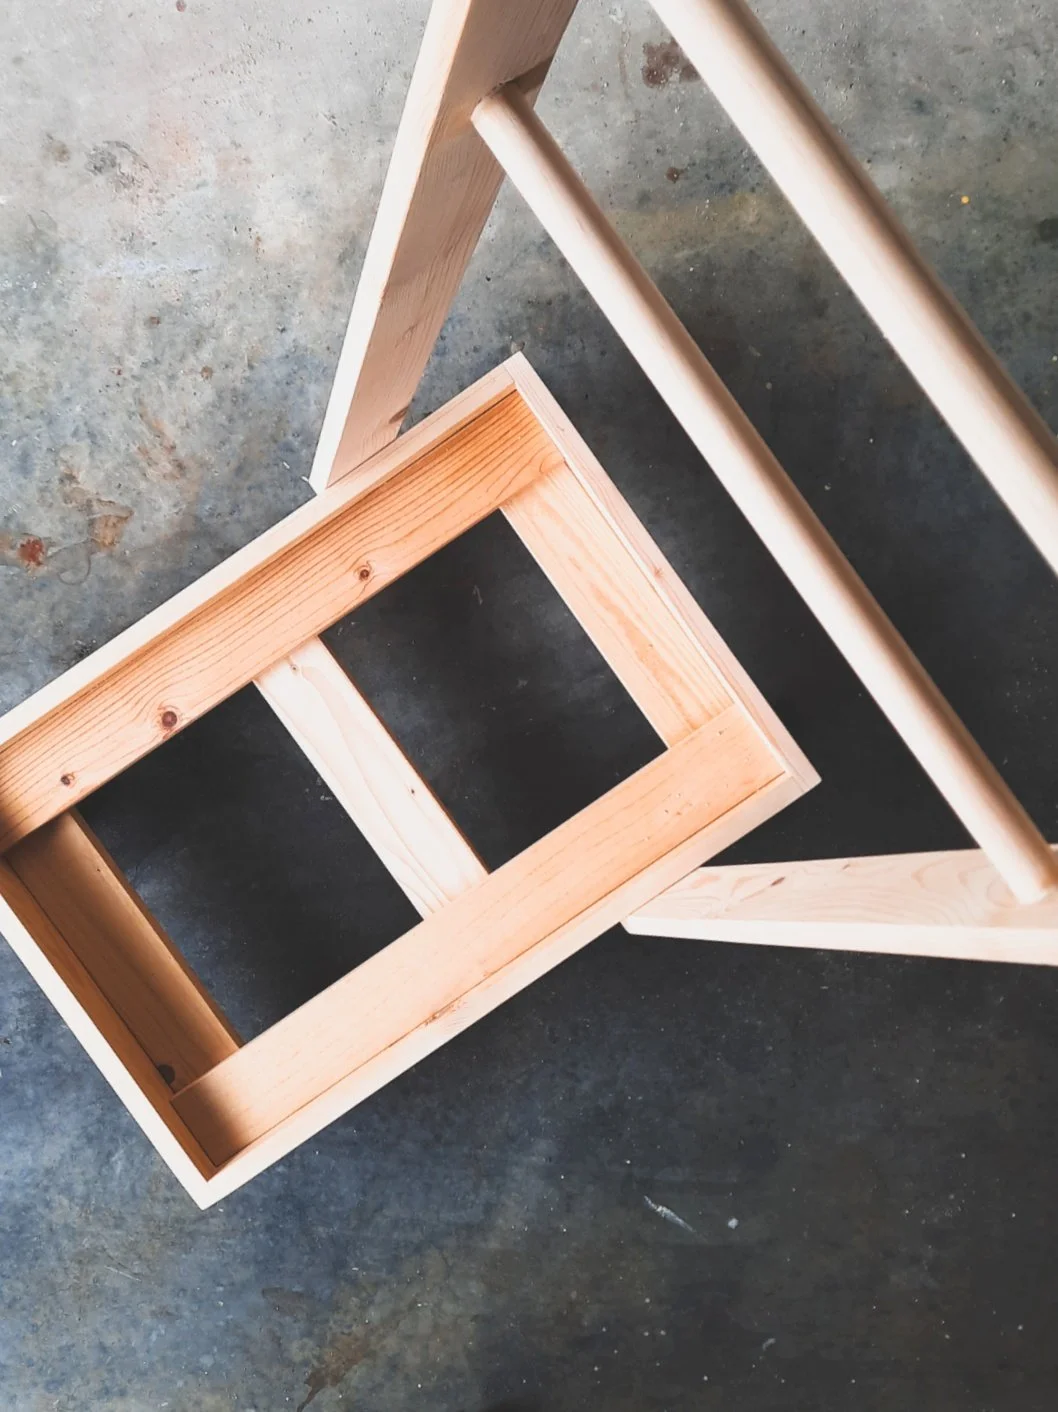
I wanted a little shape to the handles, so I rounded the ends and made two giant paddle pop sticks.
I used the dowel for two cross bars for pushing and reinforcement.
And I added the bright castors to keep things in the family.
After a vigorous scrubbing and washing of the crates, I lined them with 7mm plywood (I knew either my fingers and/or items stored would get caught in the spaces), and stacked them neatly in the base.
I made the lid by framing it with plywood off-cuts, using my drop saw to cut the angles. I added two little dividers so the accoutrement can’t roll away.
I also needed to anchor the lid, so I added little strips of wood to its underside to fit snugly into the top crate.
It’s been such a pleasure having this second bench as I work. I can place it wherever I like, and it rolls away neatly when I need to put the car in the garage. I’ve three more crates, so I’m going to make another!
Amanda
Materials:
Plastic storage crates
Timber bed slats
Dowel, 19mm
Plywood, 12mm for the lid, 7mm for the crate lining
Castor wheels with brakes, heavy duty, 10mm (2”)
Wood screws


